


Plan your month, day and week in 60 minutes
One of the biggest barriers to entry with consistent planning, I find, is a fear that it takes too long to plan. “I never have enough time,” a friend of mine shared recently. She knows, and you should too, that I preach functional straight-to-the-point planning. Never let time get in the way of creating your perfect plan! The world will throw enough curveballs at you already. Today, I want to share with you how to plan your upcoming month, week, and day in just one hour. Yes, one hour. This post is in collaboration with bloom daily planners.
A disclaimer upfront: If you’re a decorative planner with rolls upon rolls of washi and a sticker binder bursting at the seams with kits from your favorite sticker shops, my approach to the quick-plan is functional to an extreme. Hopefully, you can take away the same tips to aid you in creating beautiful spreads. But I fully anticipate and understand (and celebrate!) that planning a full month, week, and day may take more than an hour with your attention to detail.
To get started, let’s imagine it’s a Sunday in my house. A new month is bearing down upon us and I’m feeling the itch to mark up next month’s spread with all of the appointments, events, birthdays, and special occasions I already have swirling in my mind. The key, I believe, is to start at the top of the pyramid and work my way down. By that, I mean–start first with your month!
Planning your month (40 minutes)

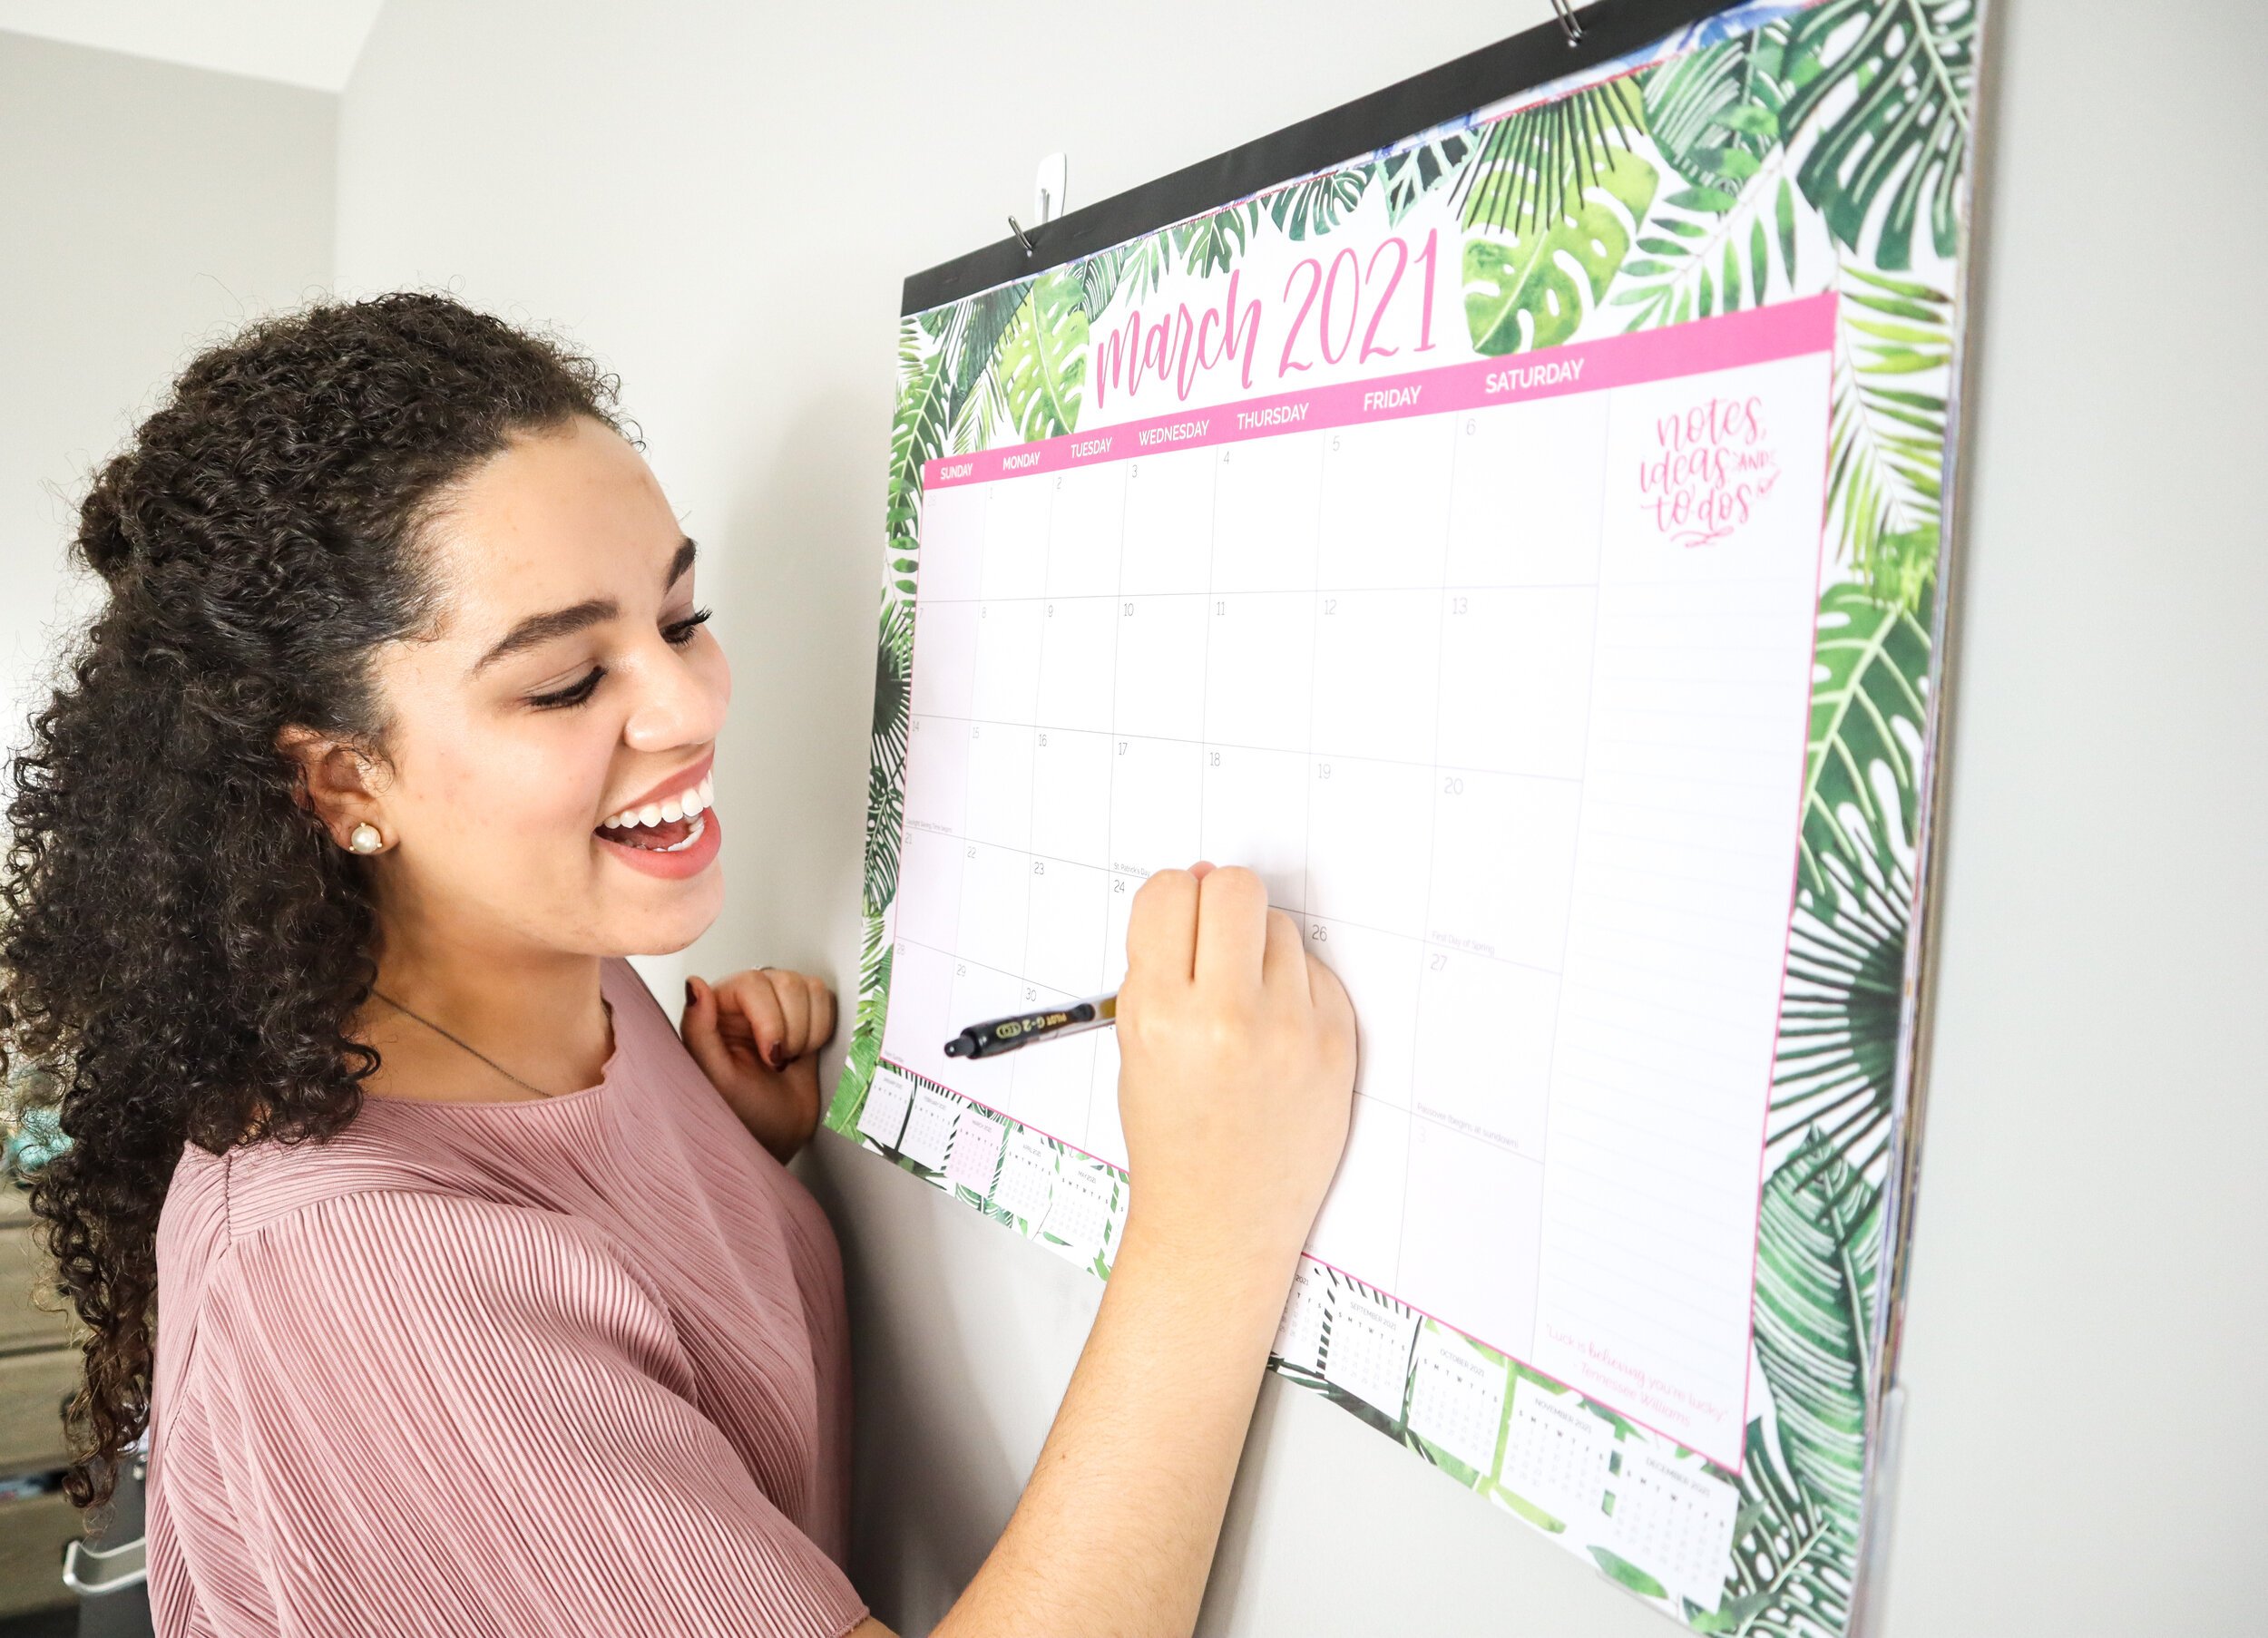
product: bloom desk calendar
I sit down mid-month (planning for February around the middle of January, e.g.) to plan the next month. it takes me about 40 minutes to compile all the info from my different planners. If you’ve followed me for a while, you know I use different planners in my planner stack for different purposes–one for work, another for content, for example. I get my stack together and remind myself that this exercise is not about being pretty, it’s about being functional!
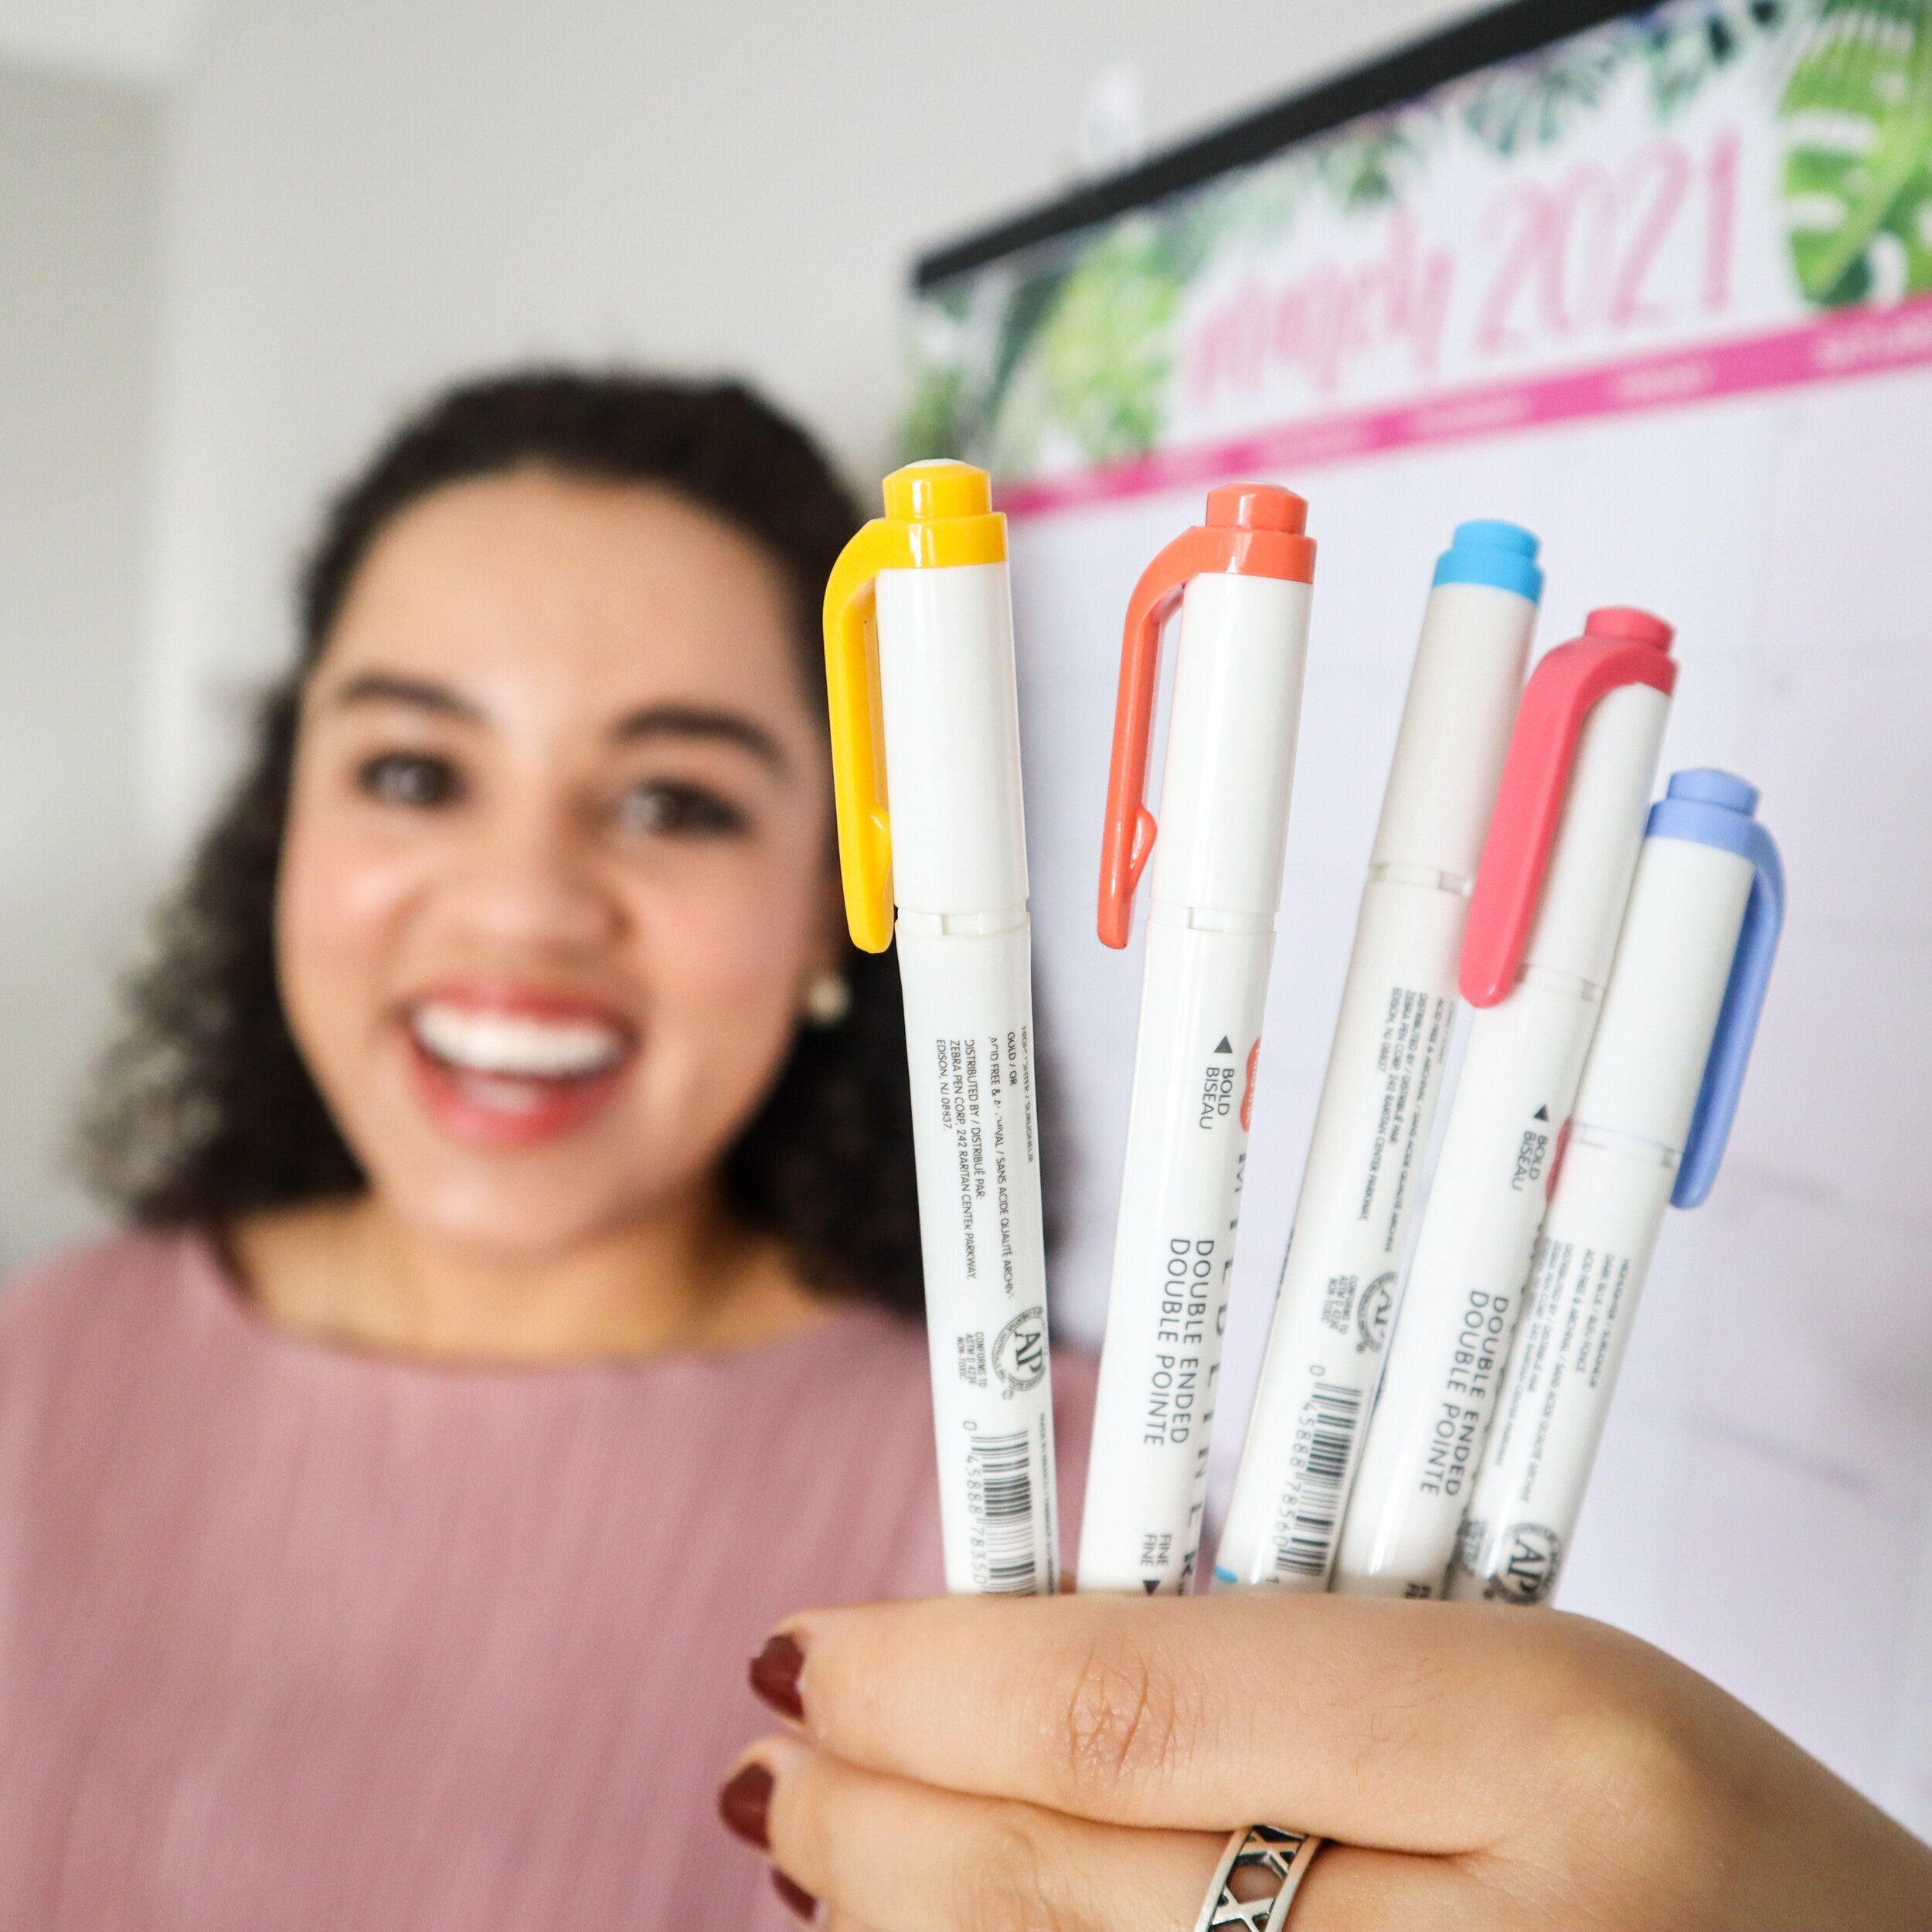
shop mildliners:
The second step in planning for the upcoming month is to sit down and list everything I think we have going on next month, based on the disparate info I’ve collected from my stack of planners. Each planner has a piece of next month’s puzzle. For this, I use a large desk calendar. I like to keep the desk calendar on the wall over my desk because it’s always in my line of sight; I know what I’m working towards. And other people in our house can see it as a north star for the expectations we have going on and use this as their skeleton / outline for the month. As a bonus, my partner can reference the calendar instead of asking me–for the millionth time–when Aunt Tina’s birthday is!
I try to color code by category (e.g. birthdays, appointments) with my Zebra Pen mildliners. Every task, however doesn’t necessarily align neatly to a category. I list everything that’s going on for Plan With Laur in blue–including my content schedule–vacation in red, major work dates in green, and trips in orange, etc.. Right now, I also set a few health goals for 2021, so I include some milestone markers I want to achieve on this big wall calendar. As I go, I also scan my email to make sure I’m not missing anything in my inbox that didn’t make it into a planner.
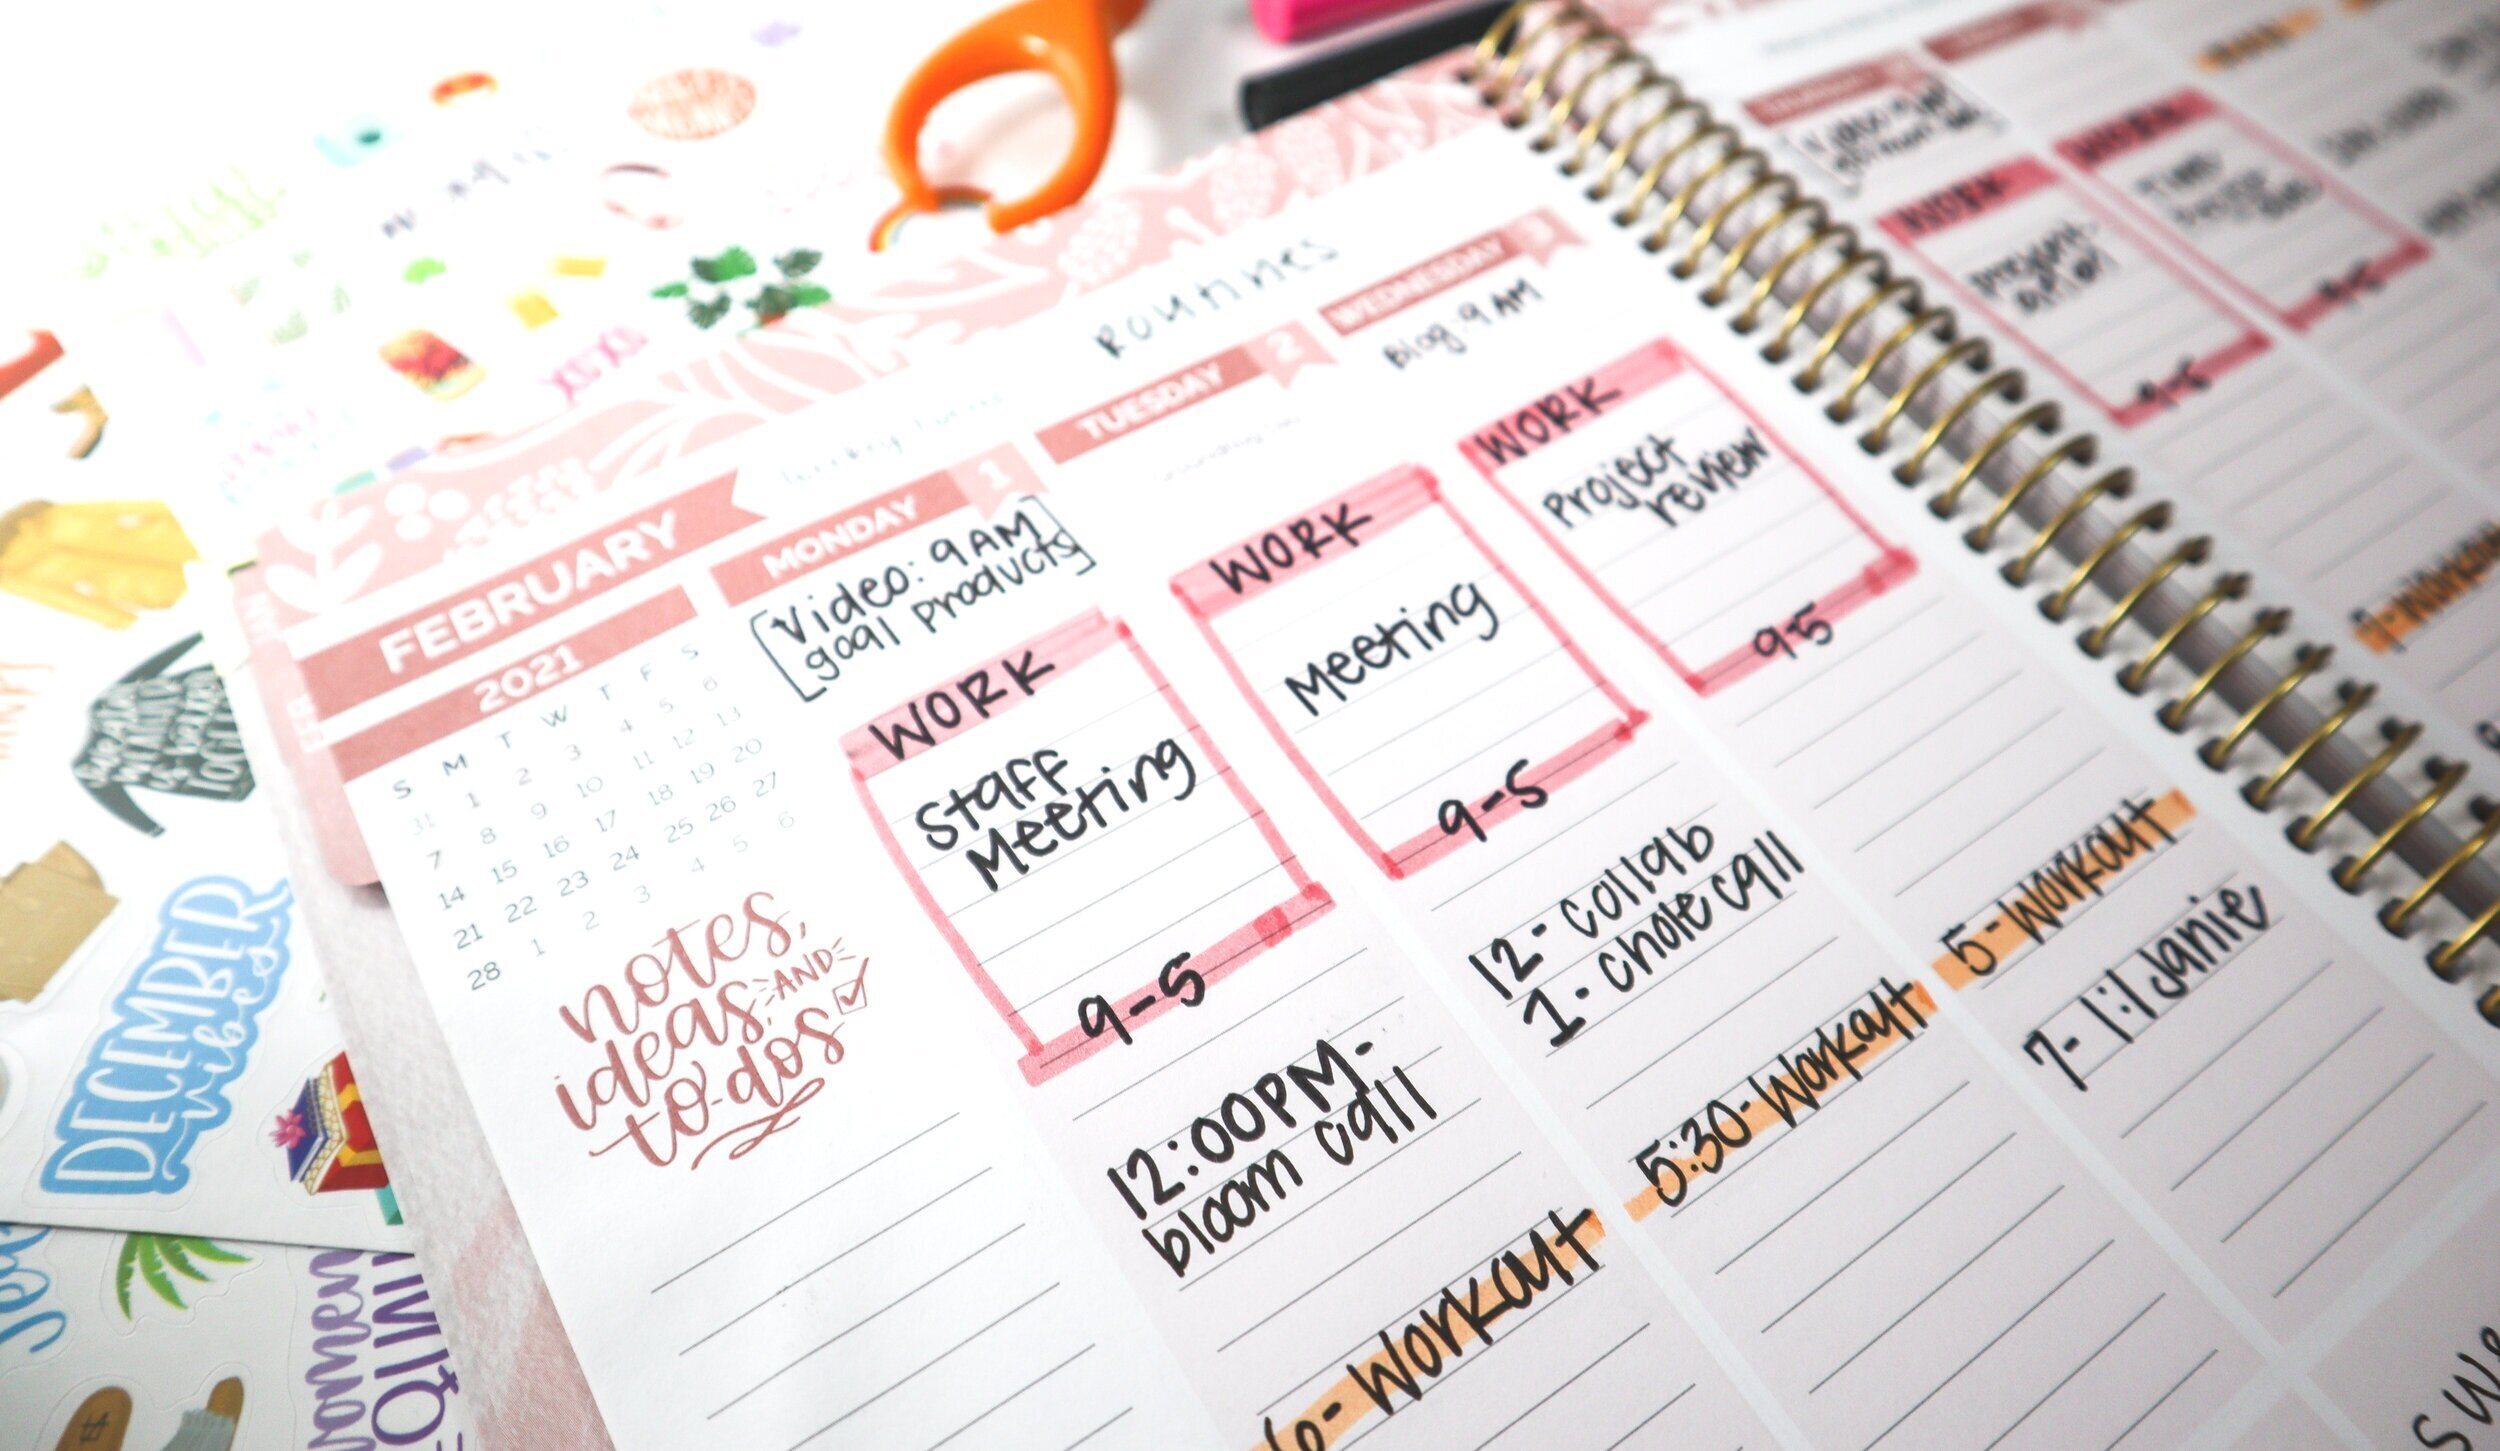
Each planner has its own monthly spreads. So you may wonder, do I not use each planner’s monthly spreads if I use the big monthly desk calendar? On the contrary, I use this desk calendar as “true north” and the monthly spreads in each planner. I transcribe anything relevant from the desk calendar into my main planner’s monthly layout. That way I always have a reference if I’m away from my desk!
One last step before wrapping up the month. I take four (sometimes five) sticky notes corresponding to each week of the month. On those sticky notes I list every event and appointment from the main wall calendar that corresponds to that week. I then place those sticky notes into my main planner, which gives me a head start when I sit down next week to plan the upcoming week!
Planning your week (15 minutes)
I sit down weekly with the bloom vision planner. The process for planning my week takes about 15 minutes start to finish. My goal here is to assign a day and time for each of the tasks I add to my planner’s weekly spread. It’s essential you know that I don’t seek to fill in every day and hour of my weekly spread. Whitespace planning–that is, leaving plenty of open whitespace in your planner spread–is my number one rule for retaining flexibility in my schedule.
Remember the sticky note from the monthly planning section above? The one replete with all of this week’s major appointments, events, celebrations, soccer games and more? I start with this sticky note, which I filled out as part of the monthly planning process. If each line item on the sticky note doesn’t have an associated day and time, I assign one and add it into my planner’s weekly spread. If I can’t assign a date or time for some reason, I add it to Monday with a big star next to it.
product: bloom vision planner
Then, I take my non-negotiable schedule and add this in. Because I work a predictable 9 to 5, this scheduling portion is pretty easy for me to fill in. If you have children, perhaps their school or daycare schedule makes it into this portion of the planner. These are standing appointments and commitments you know you’ll have each week, regardless of the time of year. Some of us have more fixed commitments than others, but everyone should have whitespace at this point in their weekly spread.
Last, but perhaps most importantly, I make time in my weekly spread to work on my goals. It is so important to attach days and times to your goals. You are significantly more likely to work on your goals when you have a time associated with goal-work. If you use your weekly spread as a meal planner or wellness planner (or something altogether different and amazing), feel free to modify this weekly planning process to fit your needs. Your weekly spread should reflect the person you want to be–always remember, however, that “done” is better than “perfect”!
Planning tomorrow (5 minutes)
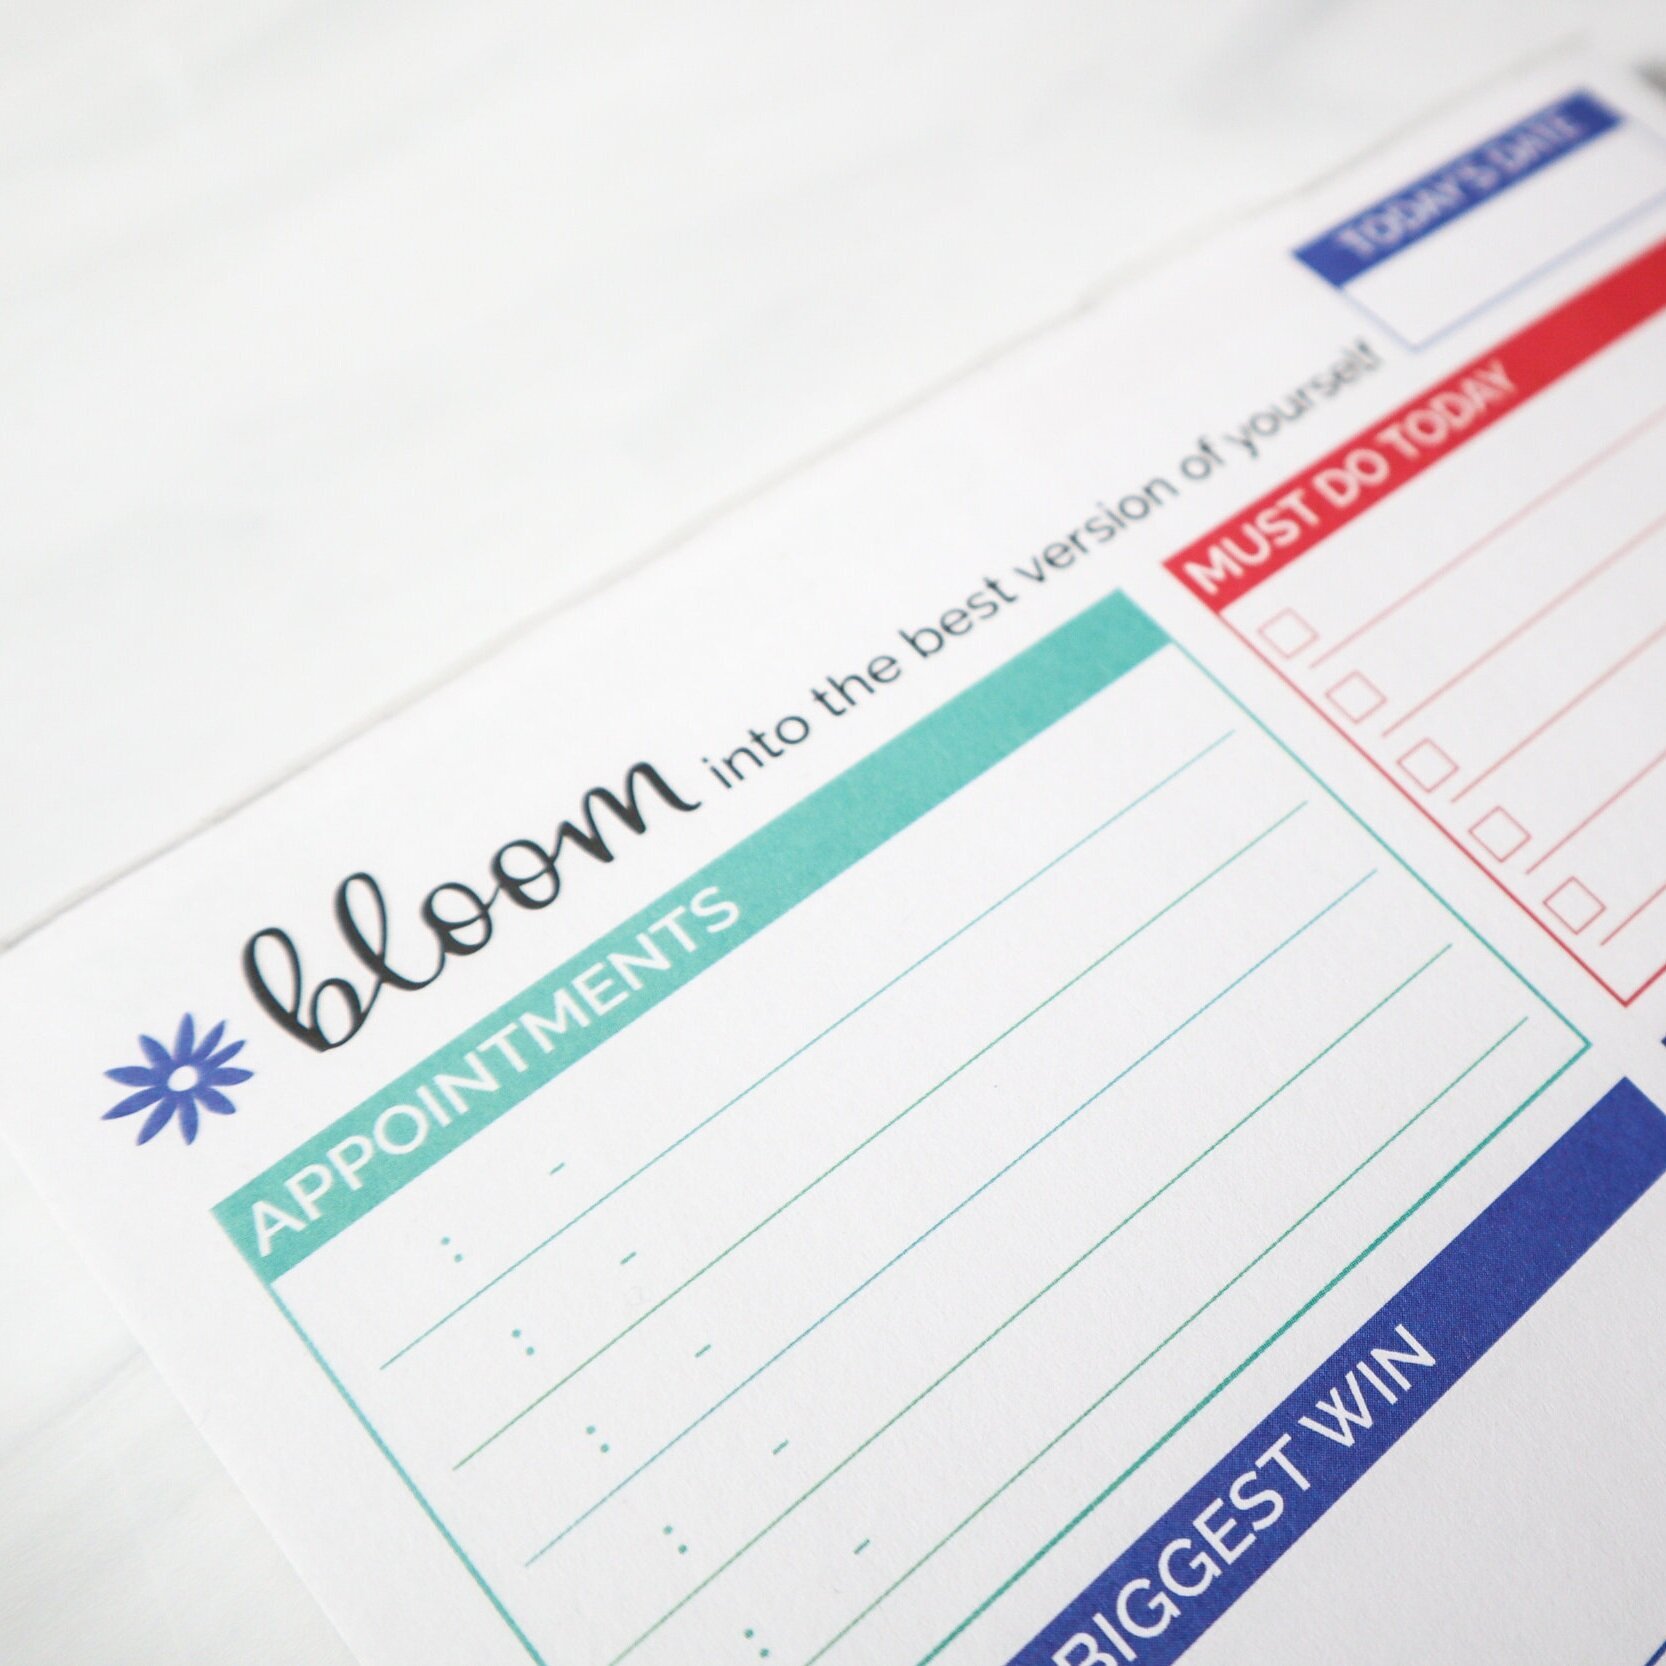
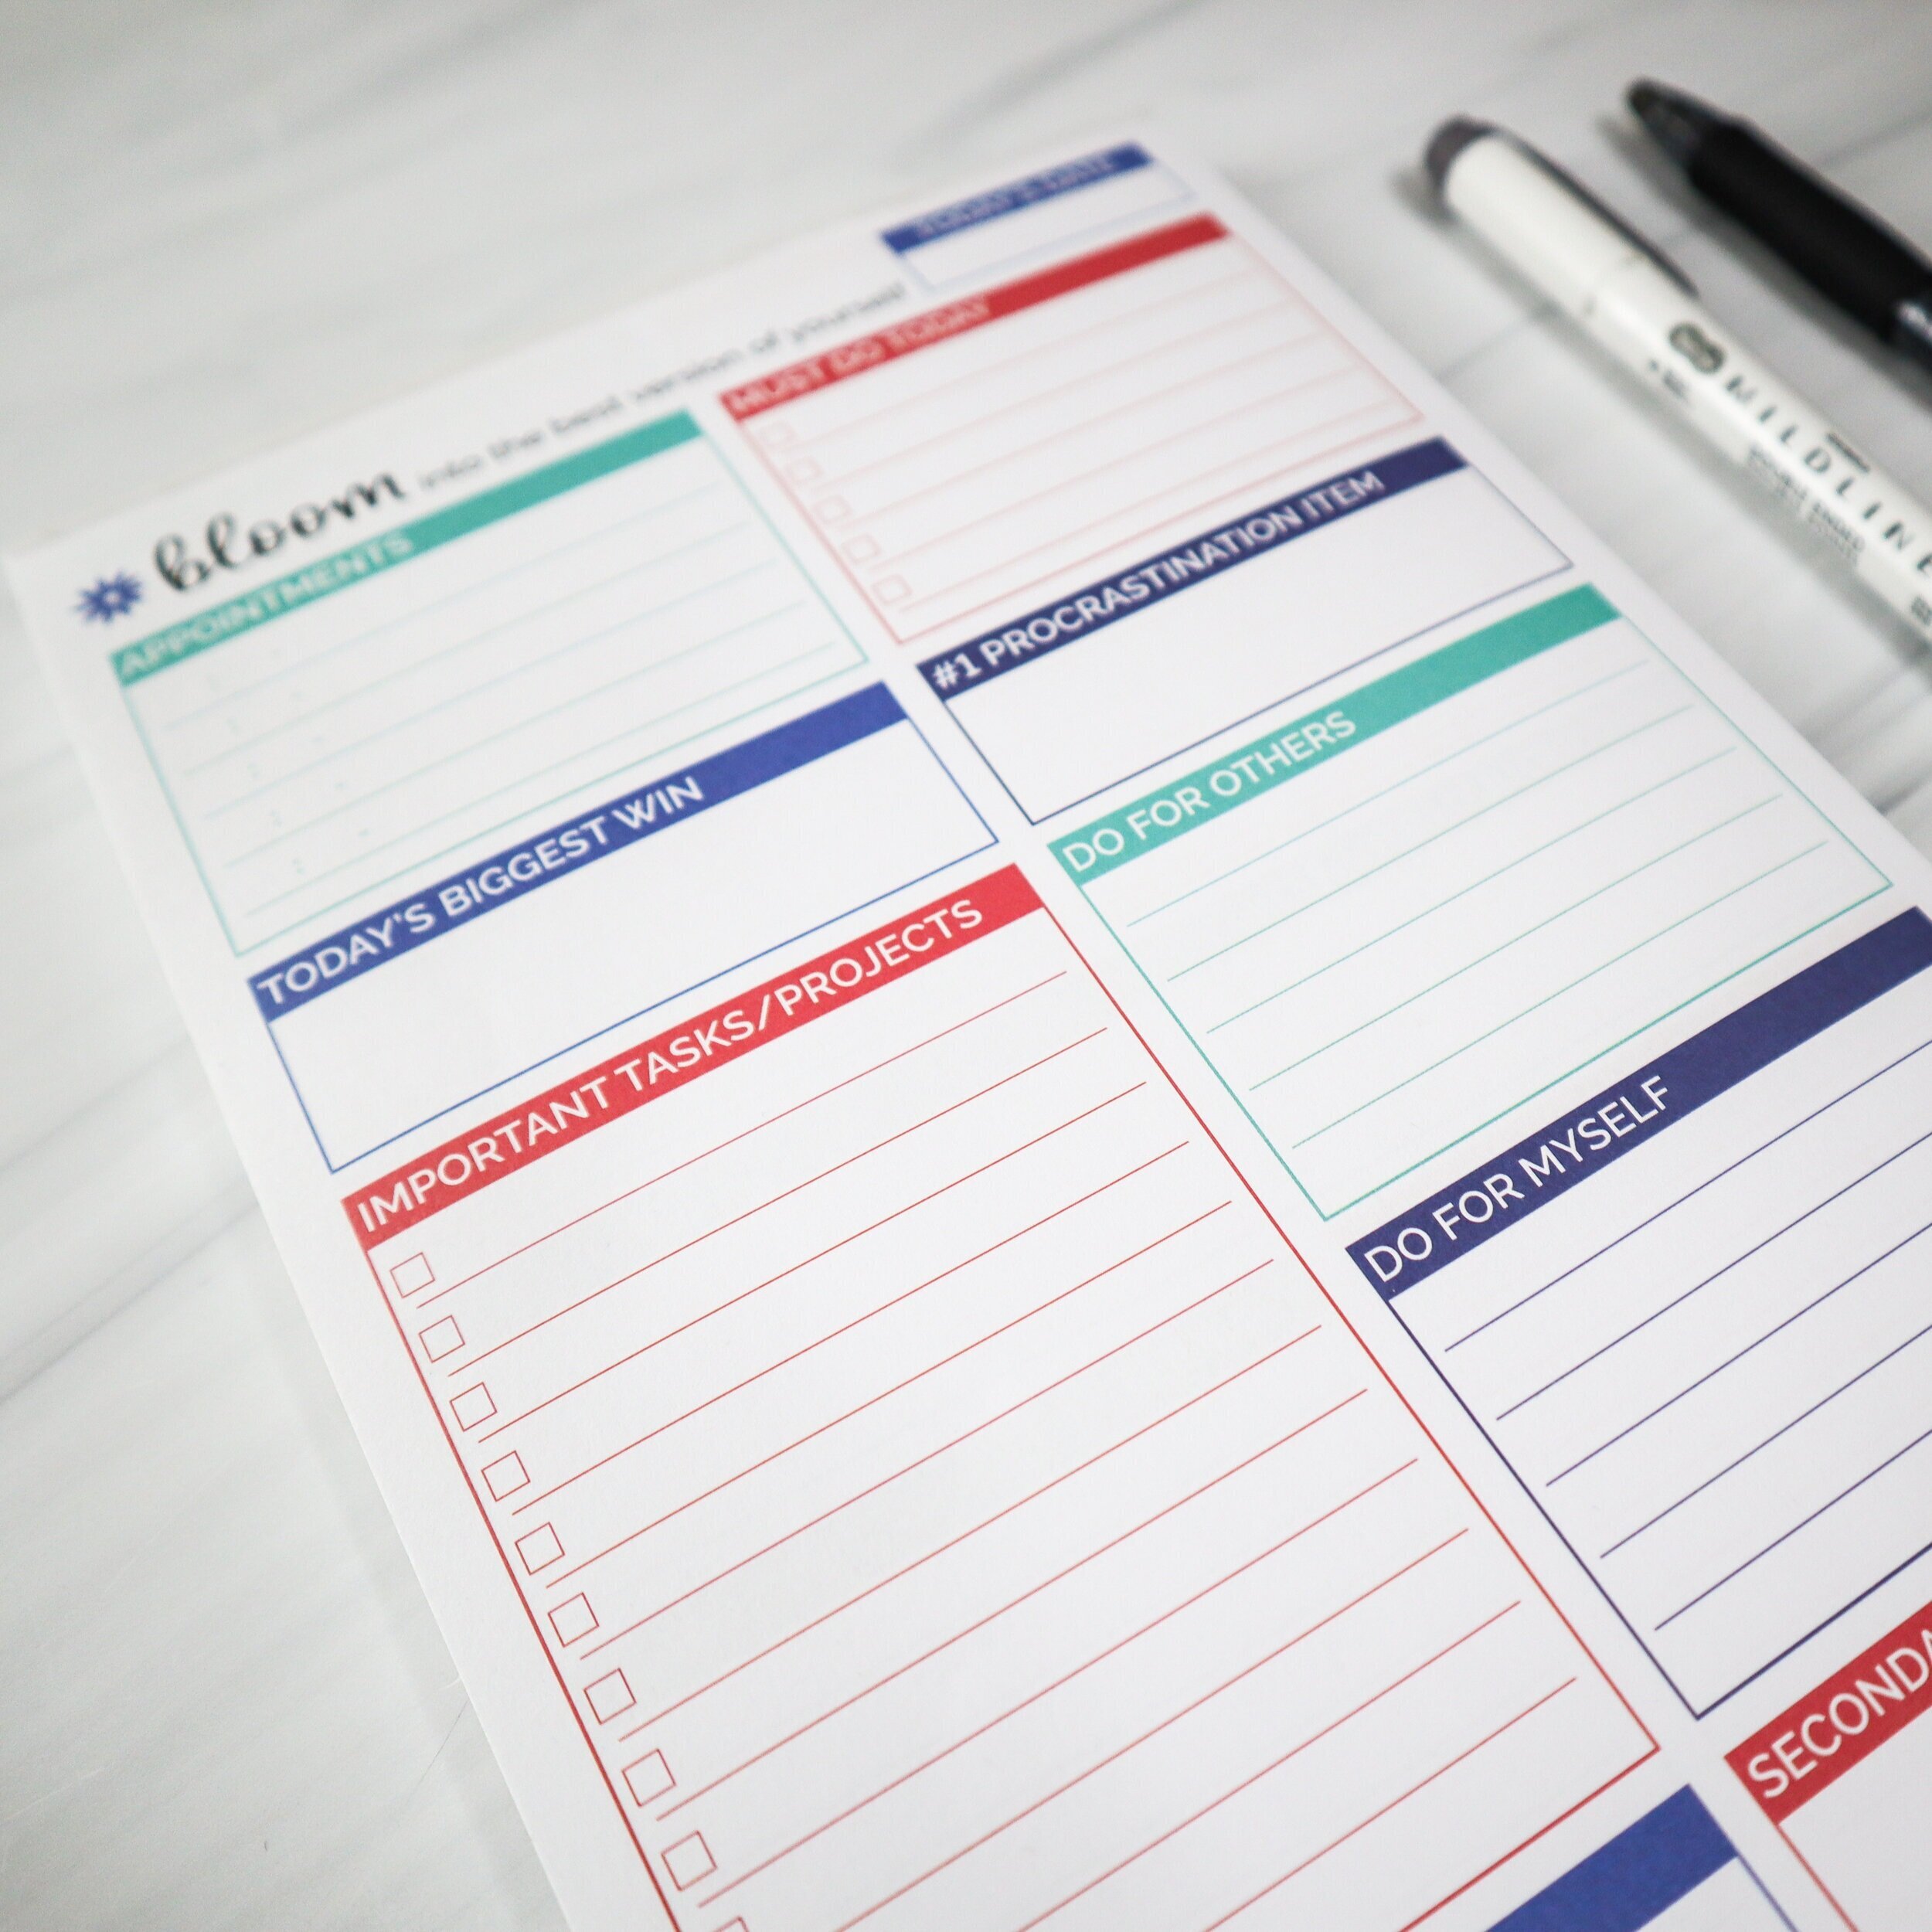
Planning for tomorrow is my last step. Lately, I’ve been using the bloom planning pad to plan my days. This should take about 5 minutes start to finish. I first adopt anything from the weekly spread (above) assigned to tomorrow. I get really granular with the tasks and to-dos in my daily spread. I leave plenty of whitespace to fill the other sections of the pad as my day goes on. If tomorrow is a Monday, the sections of the pad that fill up first are important tasks/projects, my #1 goal for today, and the many phone calls and meetings on the books to kick off my work week.
And voila, you’ve done it! Your day, week, and month have all the important details sketched out and lined up. In under an hour, no less. At this juncture, feel free to add stickers and washi to transform your functional spread into something altogether more beautiful and decorative.
product: bloom 6×9 planning pad
product: bloom 6×9 planning pad


")