


How to plan in a paper planner
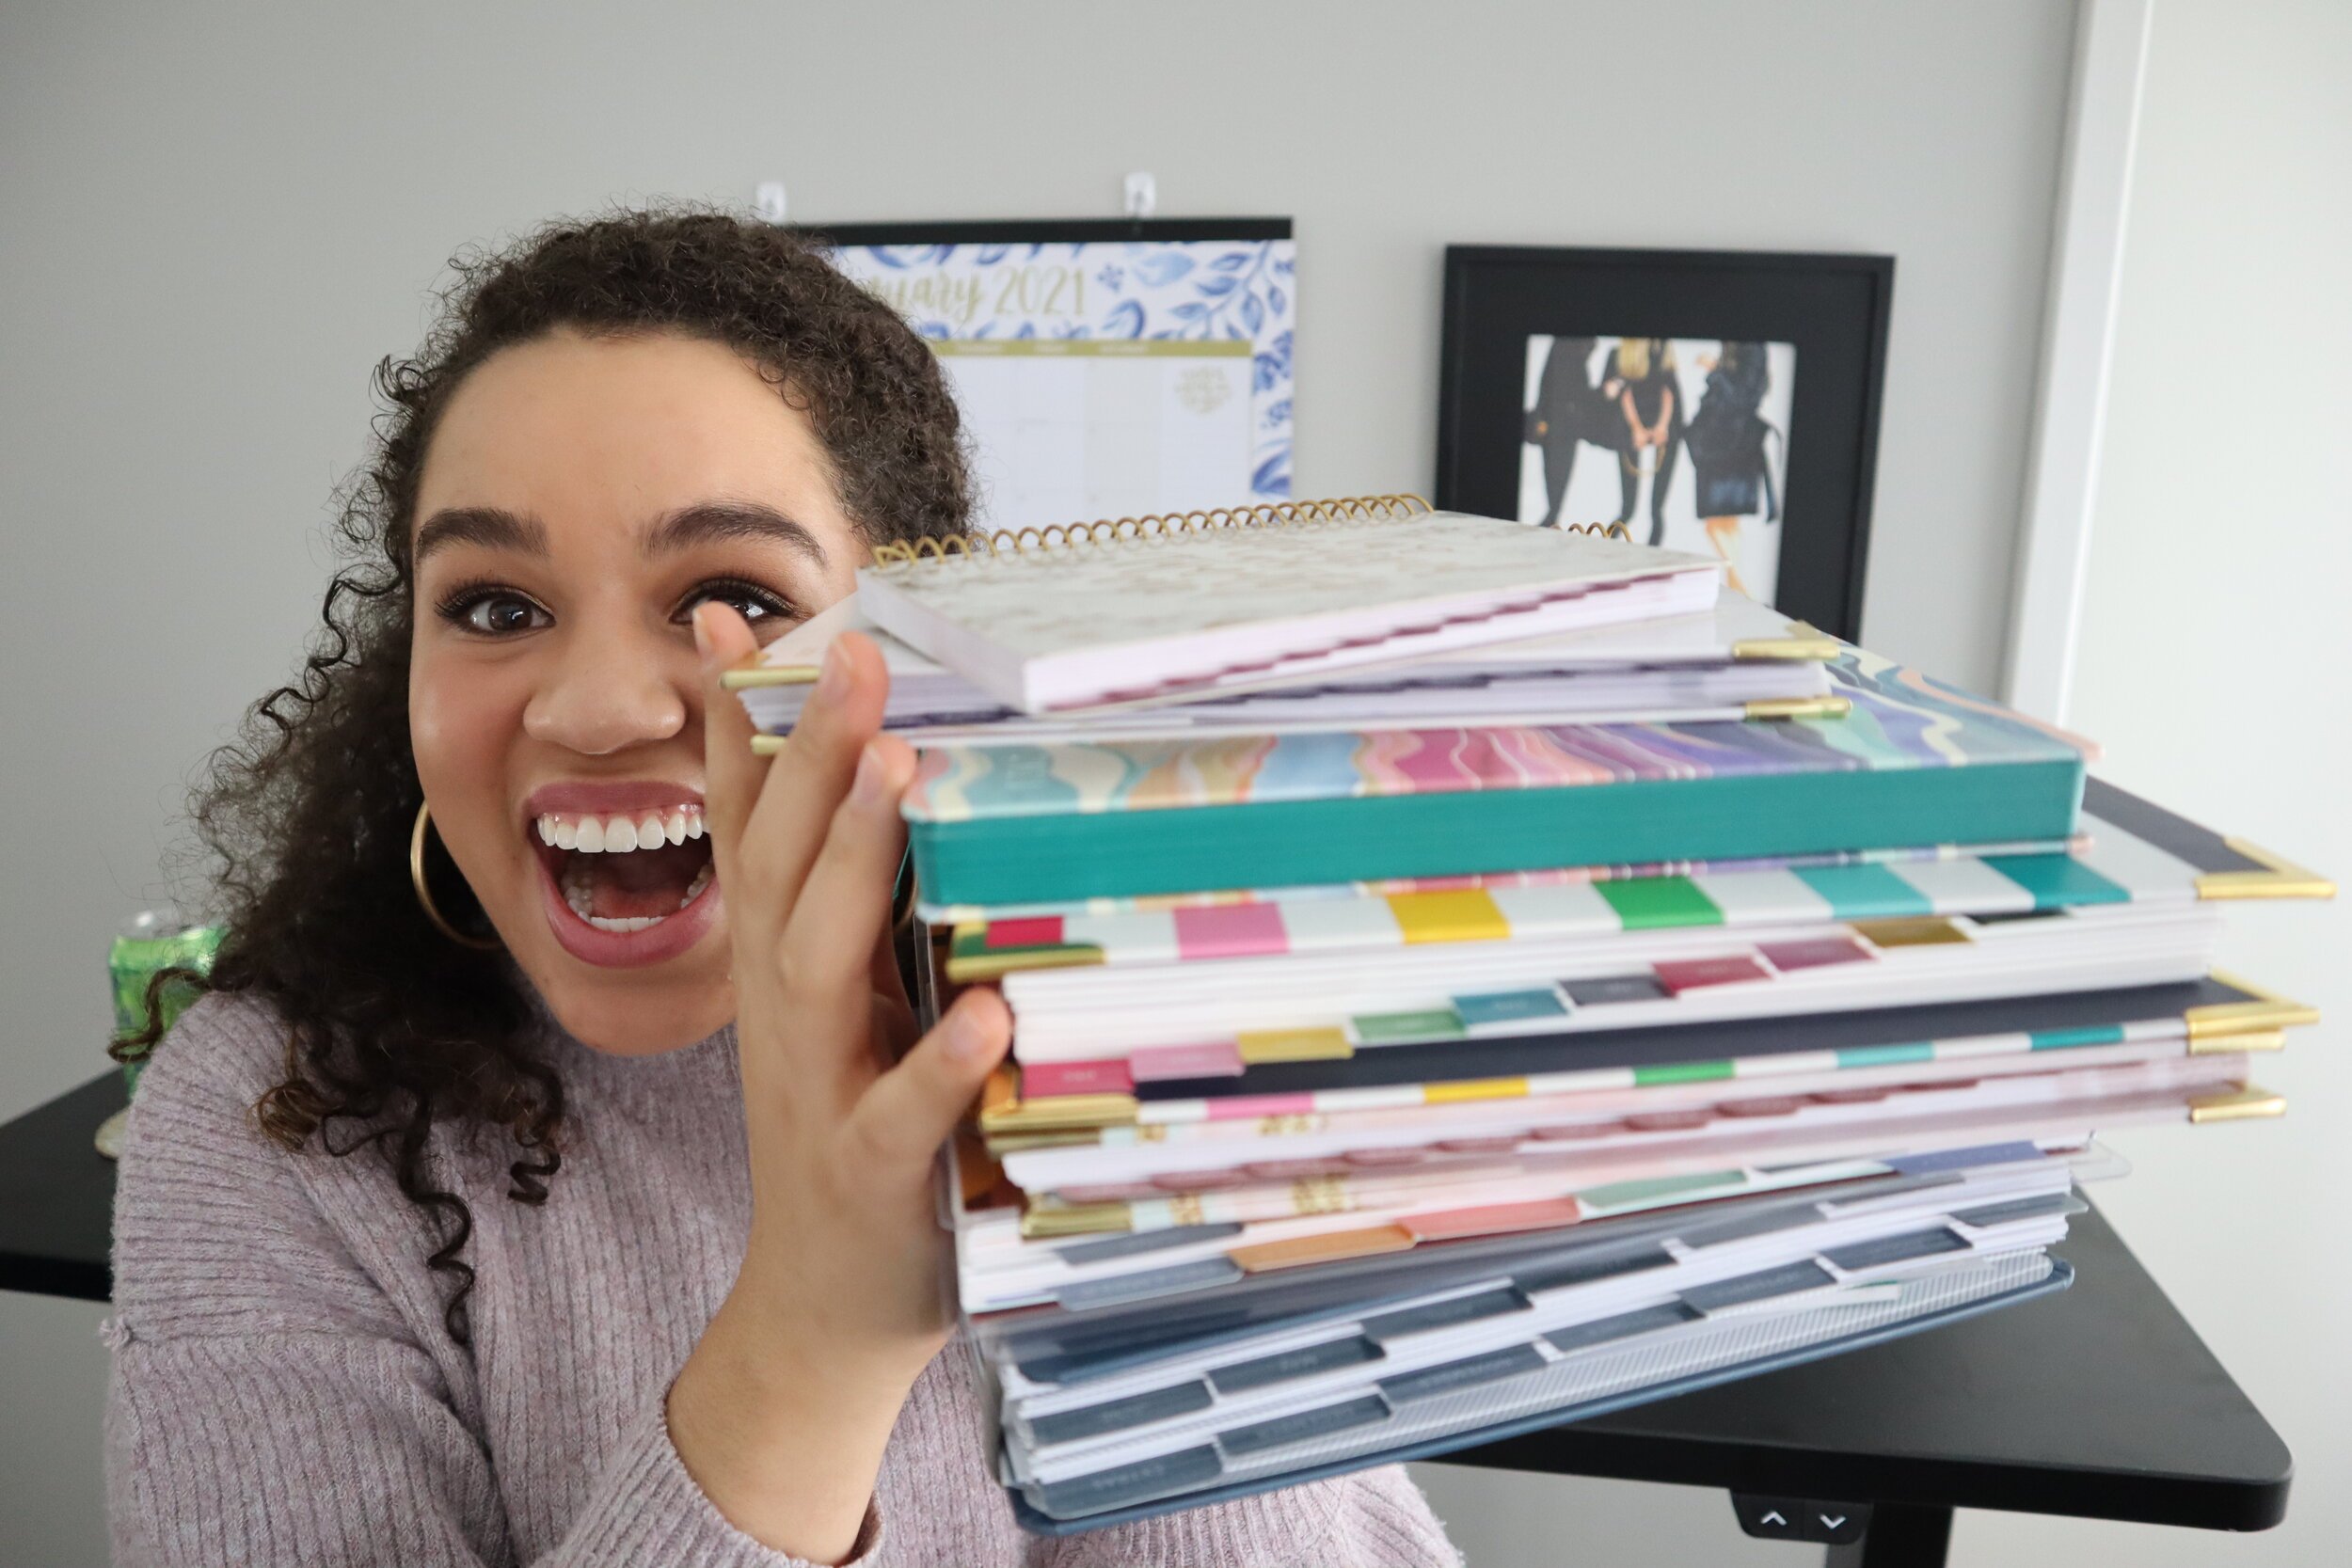
2021, I am ready for you! The new year brings new goals, new aspirations, and new habits and routines to accompany this new year. The best way to keep track of all of those things is, of course, a planner.
In this post you will learn:
-
How to use the monthly, weekly and daily portions of your planners.
-
Ideas on what to document and track in each section
-
Mistakes you can avoid to stay consistent in your planner
-
Tips to successfully use your planner
The first thing we have to do is figure out which planner we’re going to use. I have a million and one thoughts about this, but that’s a post for another day. I assume we’re all on a spectrum when it comes to planning: from the true novices to expert planners that juggle a half-dozen (or more!) planners in their stack, there’s always more we can get from our planner(s). If you are new to paper planning, there are a few different planner brands that I use and recommend–linked at the end of this post. Don’t skip ahead too quickly, though!
After we figure out the right planner for us, what really matters is inside the planner. There are many different layouts when it comes to a planner but there are a few recurring layouts you’ll see across brands: the monthly, weekly, and daily layout. From there, the division is between horizontal and vertical layouts and a whole host of small differences and details. Today, we’ll focus on the three time-horizon layouts just mentioned.
Confused as to what “planner layouts” even means? Check out this video where I talk about all the different planner layouts.
The Monthly Layout
Planner shown from: https://go.referralcandy.com/share/5VFT4NX
The monthly layout is chiefly there to give you an at-a-glance of the upcoming month. Don’t mistake the monthly layout as just a calendar! A calendar is a tool, whereas a monthly layout is a resource to help plan our lives. Think of your monthly layout as the vessel containing the big rocks in your life. Things like vacations, major appointments, birthdays and anniversaries dot my monthly layout. I know some folks that also use their monthly layout for wellness planning or meal planning–it’s really up to you! Because the monthly layout is so powerful, I created a video outlining 10 creative ways to use your monthly layout in your planner.
We use the monthly layout, a planner in its simplest form, to plan the events we know will happen–yes–but also to predict and set expectations for our future. When I set goals, I use the monthly layout to understand the times of the month most fertile for working on my goals (uninterrupted days with no evening meetings; give me more!). Likewise, I use it to understand when I may be least motivated to work on my goals, like the run of days before a major launch or collaboration. By visualizing everything in your month you can start to budget and ration your physical and emotional energy.
From the monthly layout, we get a little more granular and move into the weekly spread. This is where a lot of personal preference comes in.
The Weekly Layout
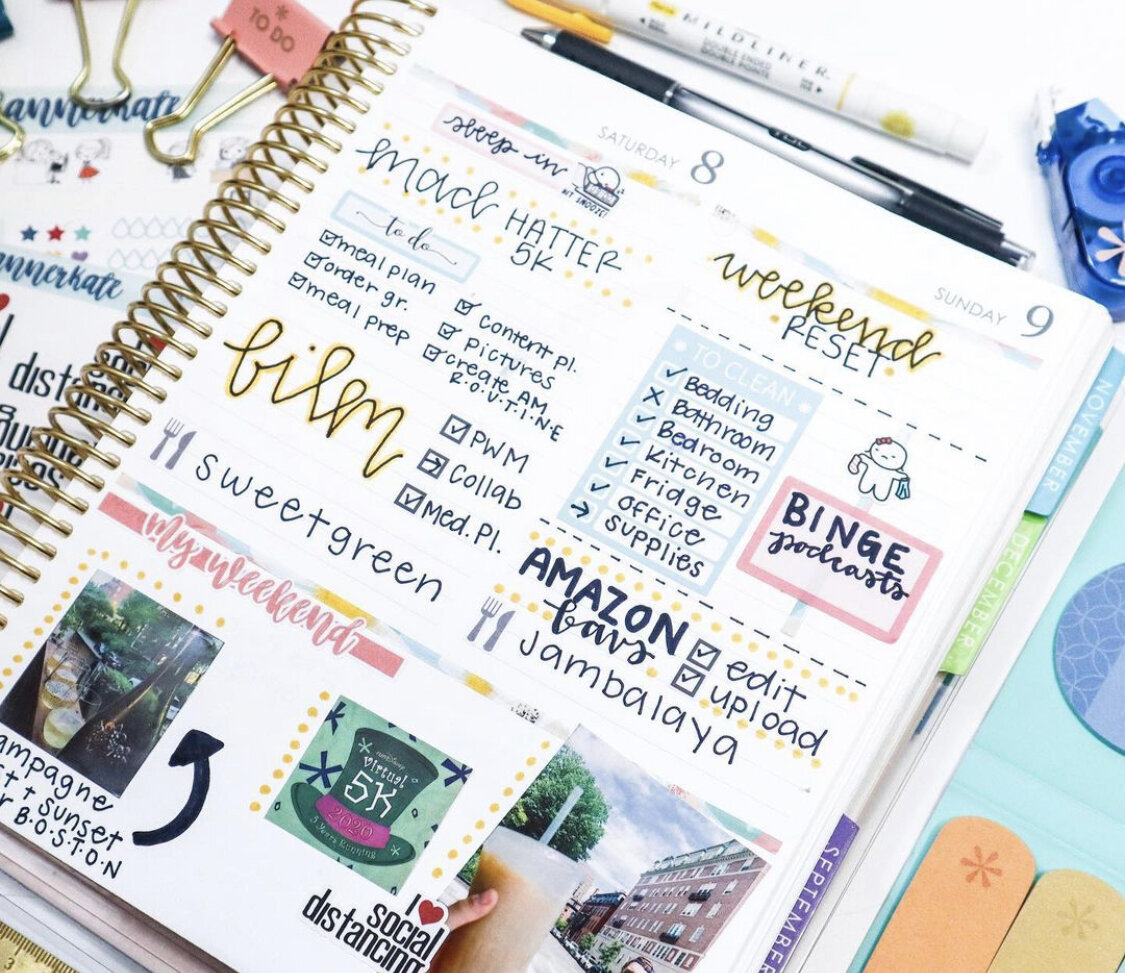
The weekly layout is, in my opinion, the essential piece in consistent planning. There is a ton of variety in weekly layouts: from hourly to vertical to horizontal to DIY. Choosing a weekly planner is one of the hardest things because of this variety. It may take some trial and error to figure out exactly what you want. Maybe you want a wide open page, like in a bullet journal, to completely customize every single day. This is what my partner, John Michael, does–albeit in an Erin Condren Productivity Notebook. Perhaps you want a structured hourly layout, where you color in the lines with the ebb and flow of your days within defined guardrails. This is more my style. Either is a phenomenal route to take!
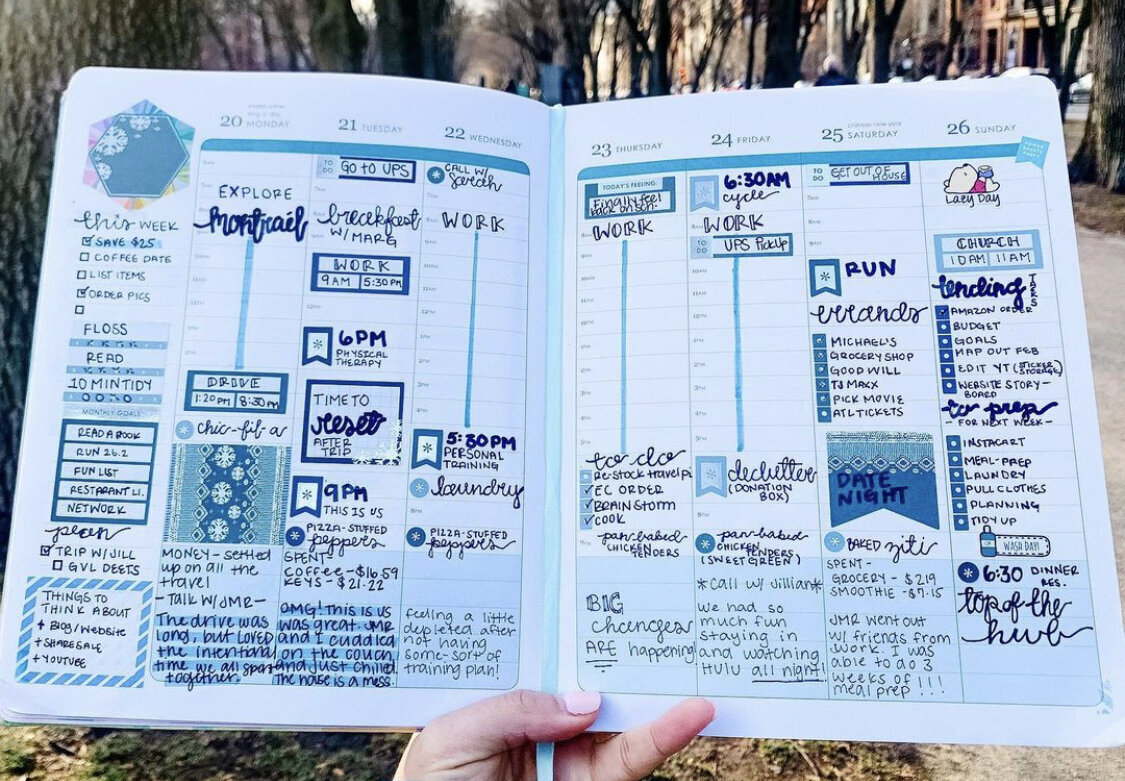
Planner pictured: https://rstyle.me/+p5lGFliF3E6wOMY-05EeMA
To help you figure out which weekly layout will work best for you, I co-created a PDF printable bundle with bloom daily planners. It’s a 10-page bundle that guides you through why you want to plan and why you need a planner. The goal is to help you set intentions for using your planner. The bundle is your opportunity to try different weekly layouts so you can make an informed buying decision for your planner.
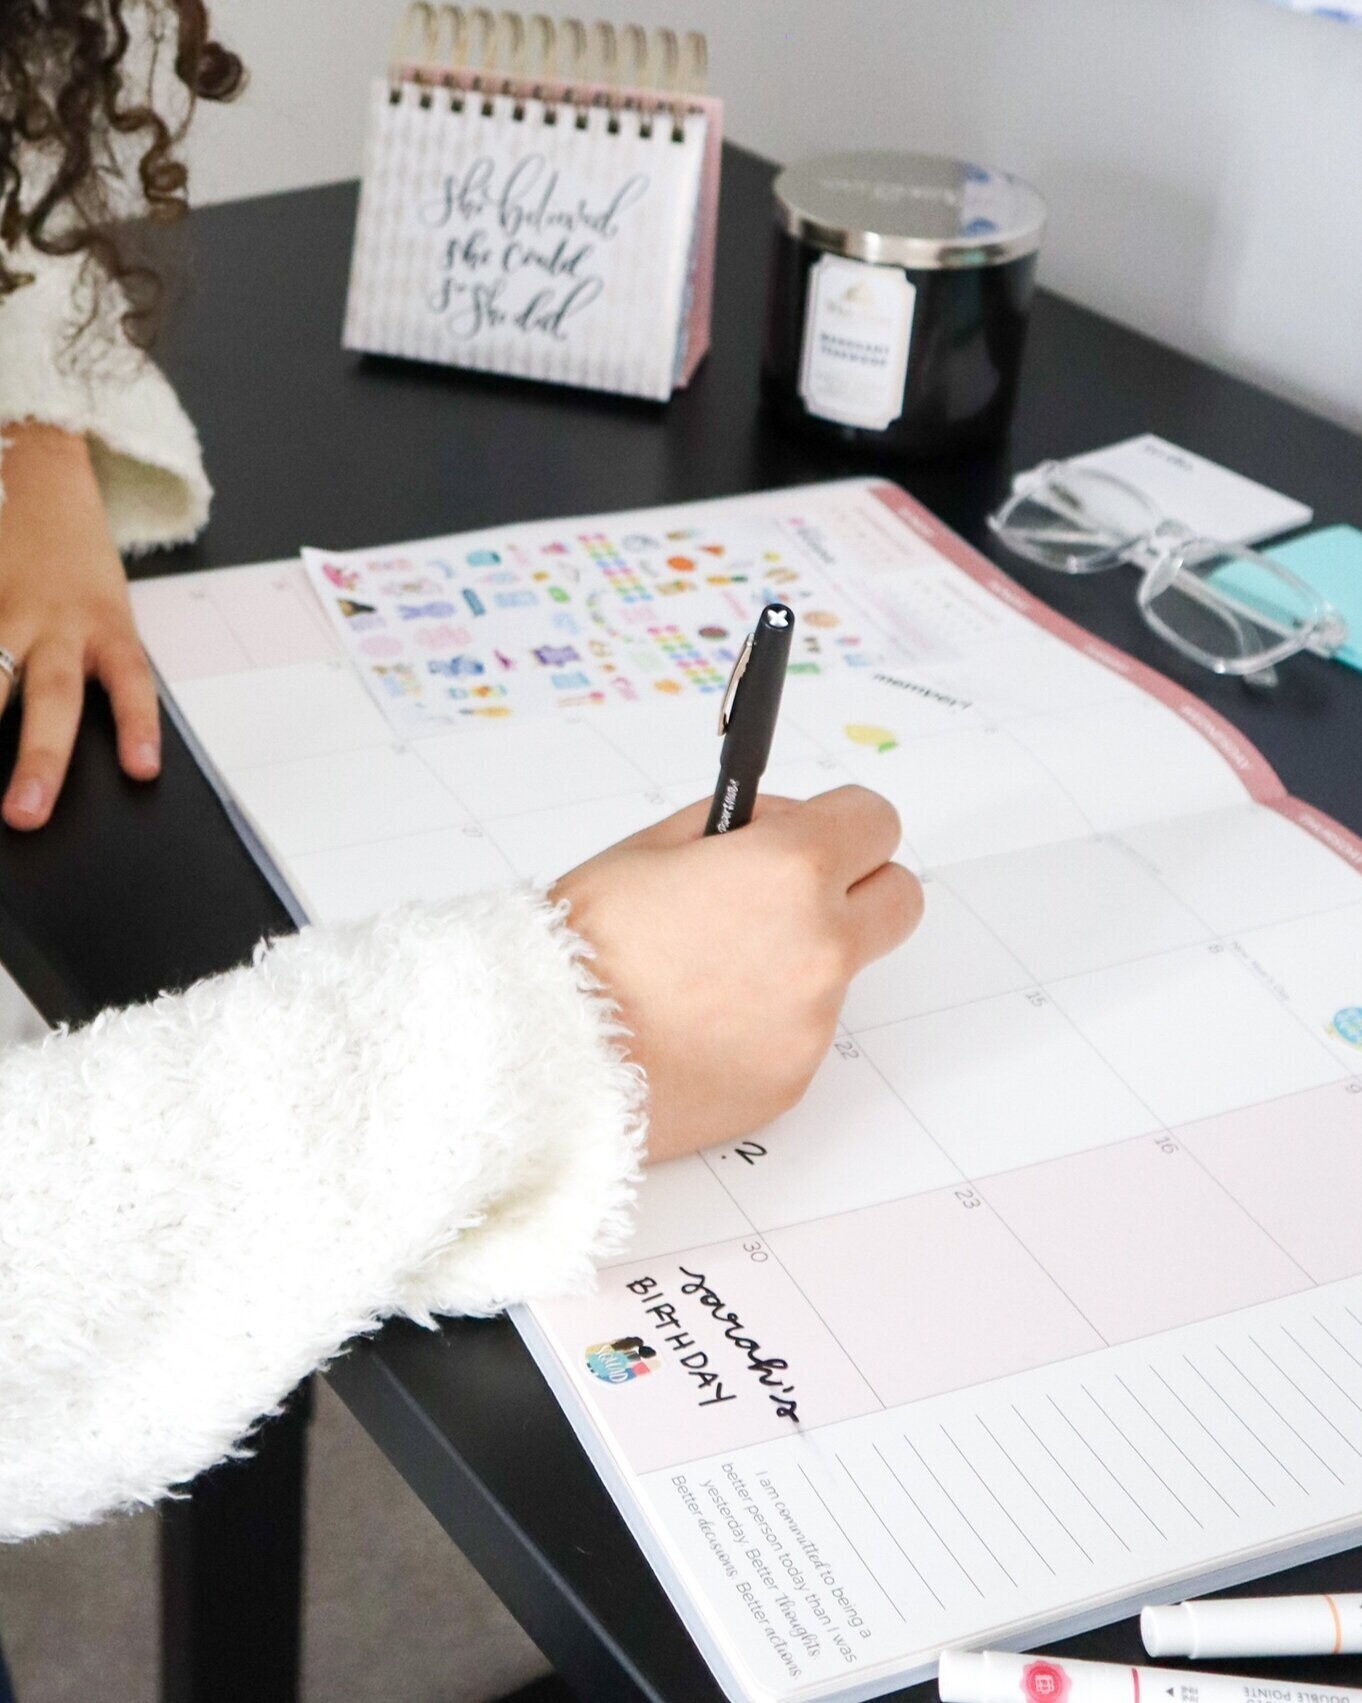
Once you decide on a layout, take everything from your monthly calendar spread and transfer it to your weekly calendar. No major appointments, events, or notices should slip through the cracks! I understand this may seem redundant. When we use this weekly space to plan our days effectively, a major part is understanding where we’re already committed. So go ahead and pull in everything from the monthly calendar.
Next, work on your schedule. Maybe that’s a work schedule. It could be a school schedule, it could even be your child’s school schedule! It could be a detailed workout of the day; you get the gist–it could be anything! Your weekly spread will change from week to week. I would caution you against scheduling every available hour in your weekly layout. Don’t do it! That’s what the daily layout is for, which we’ll discuss soon. Once you have your appointments and your schedule however, you can then fill in important tasks in the remaining blocks. Your weekly spread is a great place jot down those tasks, for example–errands you plan to run on Saturday.
Try using sticky notes if you have a big to-do list but you don’t have a fixed date and time to attach to everything.
The Daily Layout
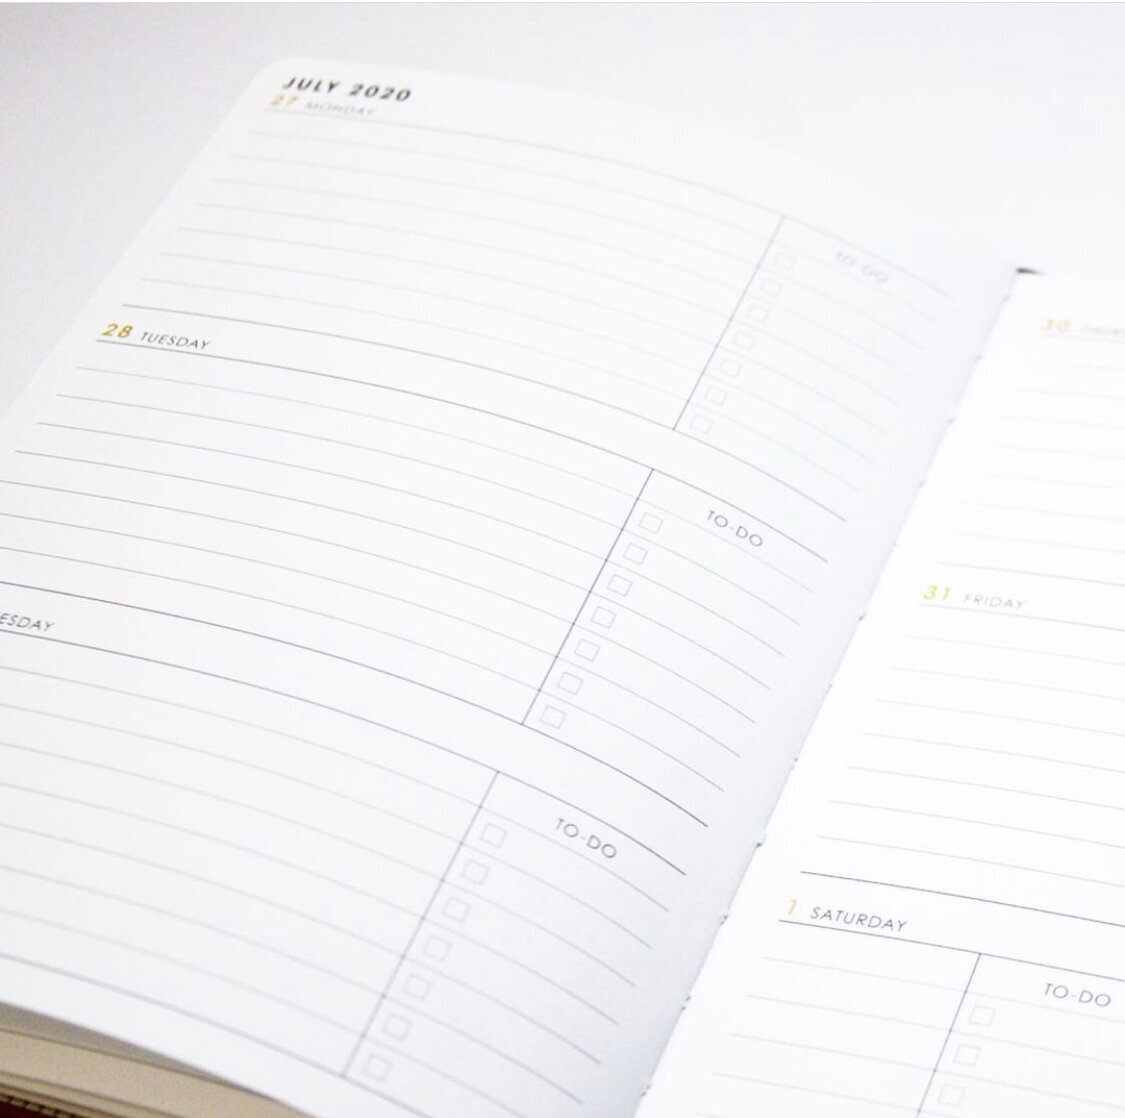
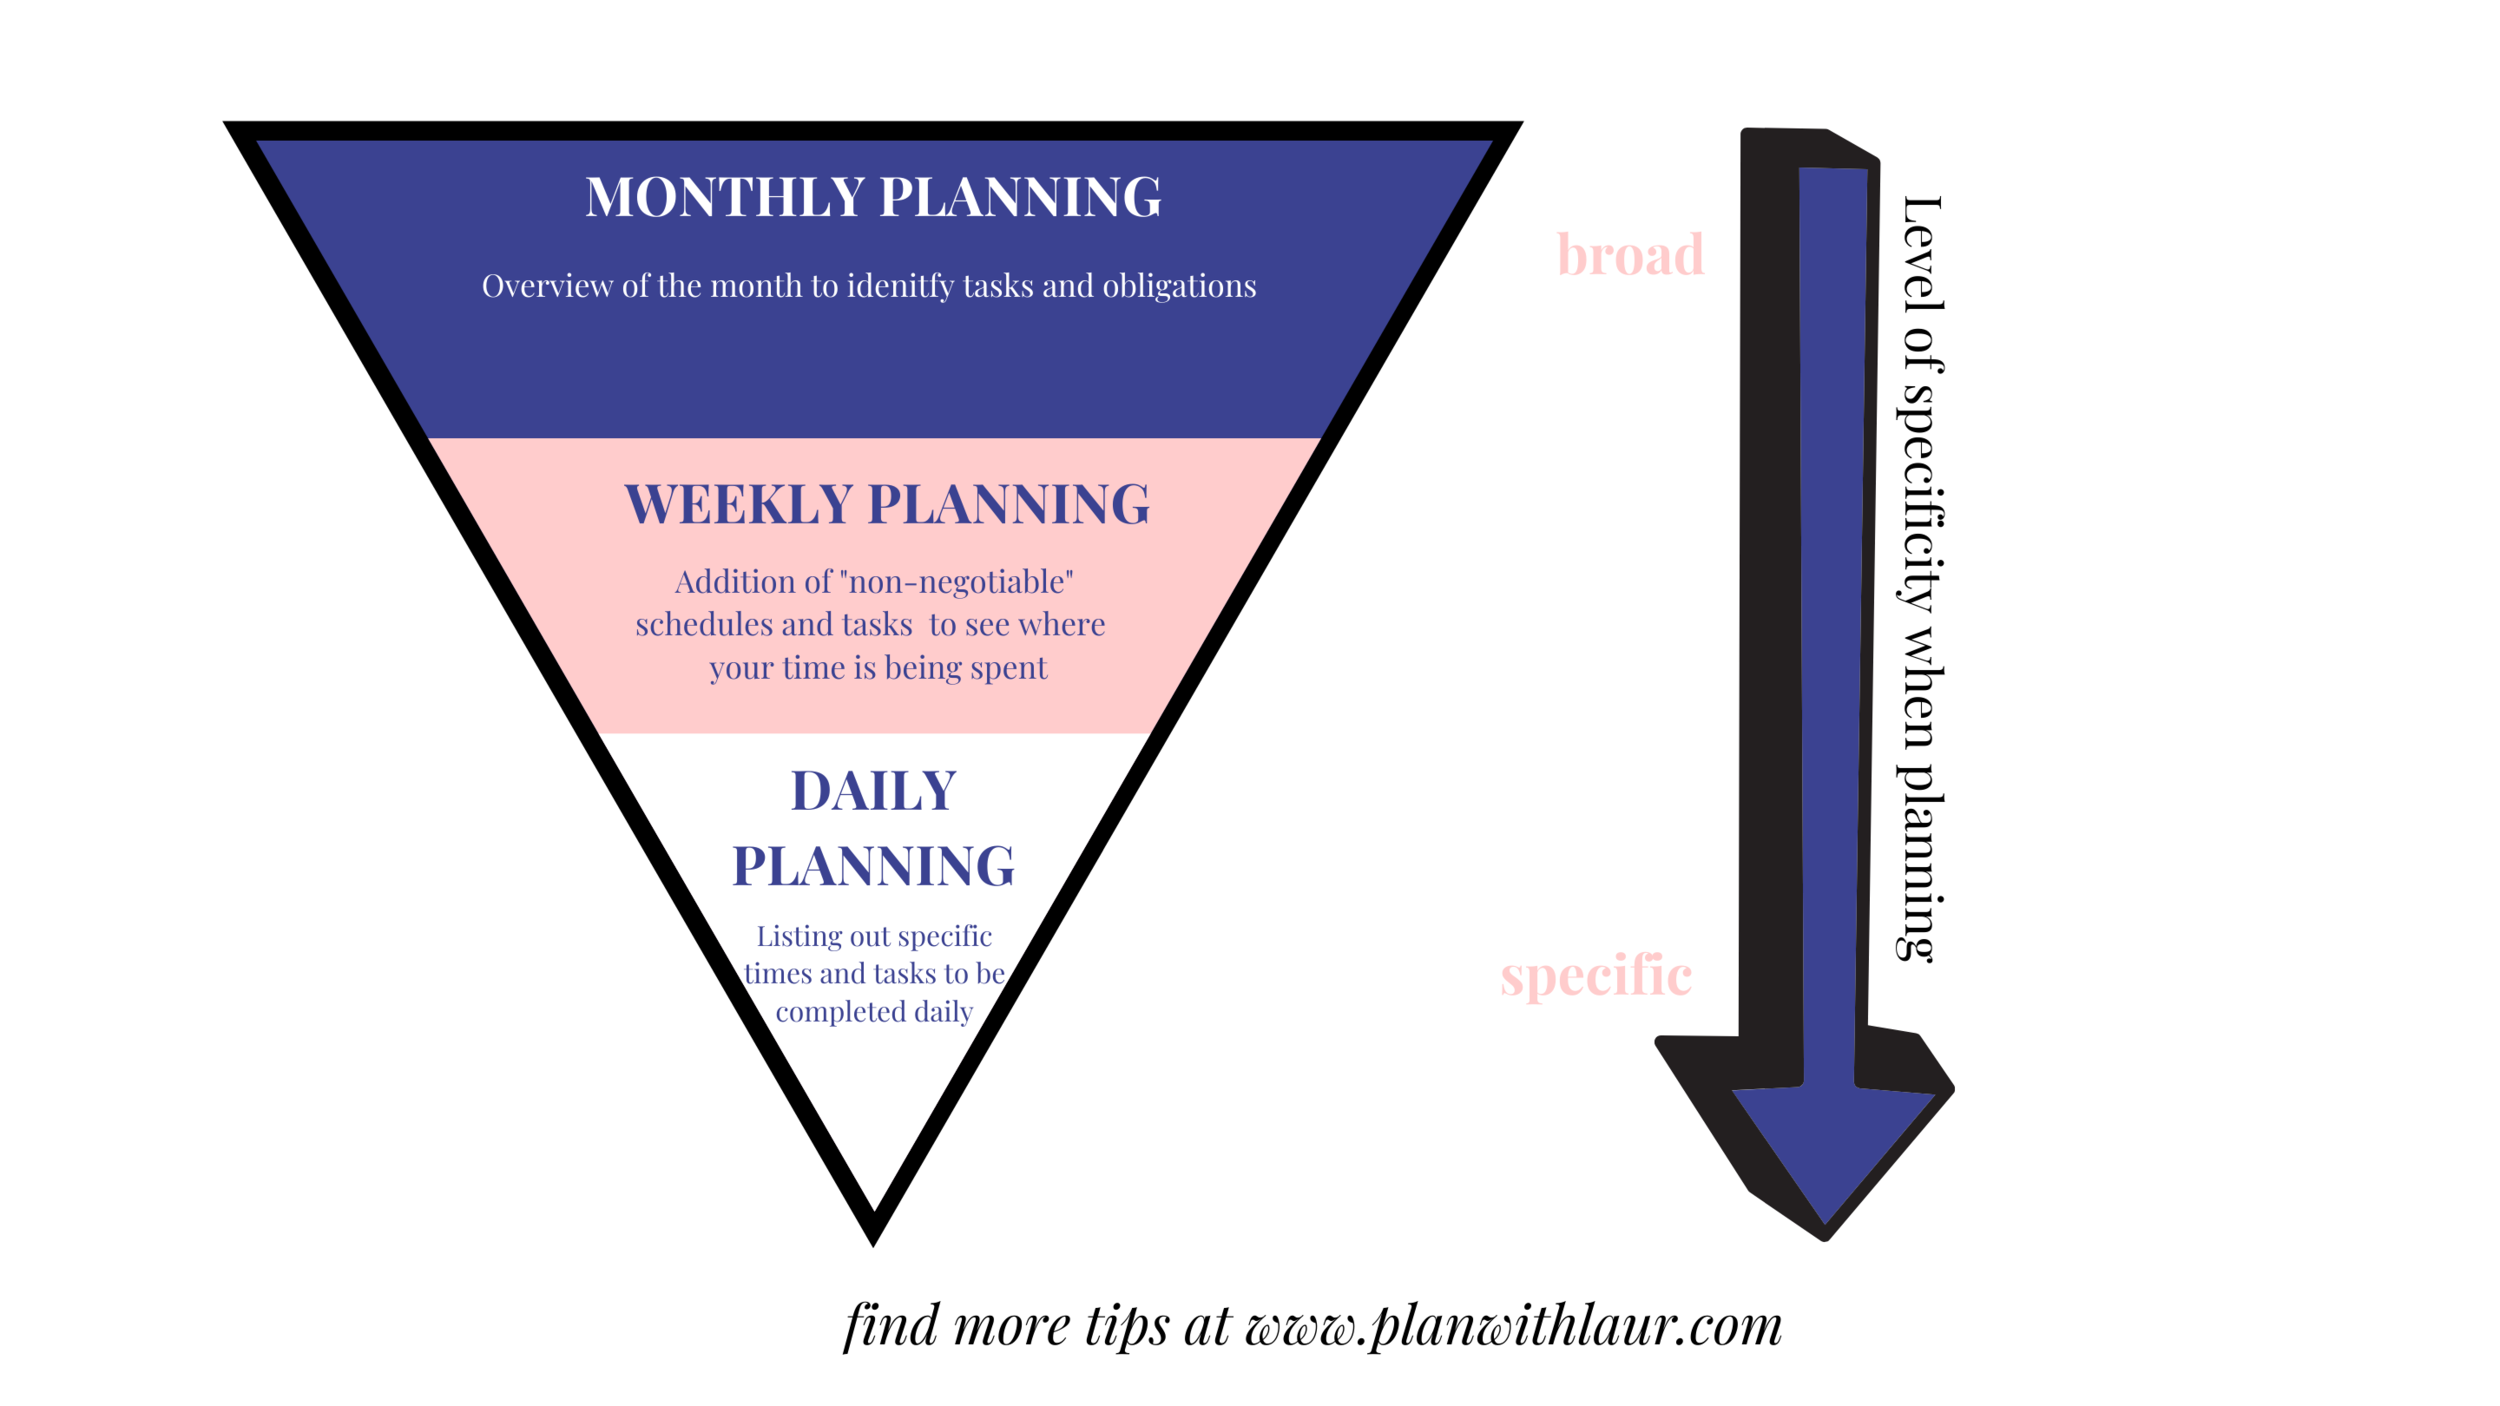
A typical planner will likely have both a monthly and a weekly layout. There are some planners that also have a daily spread or a combo of monthly and daily. The daily layout is the most specific window into your life. It’s a pyramid effect: The least detail at the top (monthly) and very, very specific at the bottom (daily).
I am a huge proponent of daily planners. Whereas the weekly layout is, in my opinion, the most important for tracking your general schedule and goals, a daily planner just instills in you a sense of accomplishment. The daily tasks are smaller and more achievable–you can churn through a full to-do list, rinse, and repeat tomorrow. The beauty of a daily planner, however, is that you can accomplish the same effect with simple scrap paper or a large sticky note. You don’t need a daily planner if you function better with a simple list.
Where those daily spreads come in handy is the uniformity and structure they provide. You can time block easily, setting aside two hours for deep work or a socially-distanced patio visit with friends. You can track by the hour or–in some cases–the half hour, as I sometimes do on a day replete with meetings at work. There’s ample room for lists and reminders. There’s space for you to remind yourself: “Hey, you’re incredible just for showing up today and giving your best.” Those little shots of dopamine in the form of a gratitude exercise, those happen in my daily layout (and nowhere else).
When it comes to daily planning, start with your weekly layout (if you have one), and pull in any appointments, meetings, events, or tasks. Structure your day around those immovable things, filling in the available space with tasks and to-dos to your heart’s content. As above, I strongly recommend not blocking every available hour of the day in your daily spread. Life happens and it’ll happen to you. Give yourself flexibility and grace by leaving empty space.
Planner shown: https://rstyle.me/+KhuPaRxTYMG-zd69SXg0pw
Planner Shown: https://rstyle.me/+knzS9UA3DiMxOdNMrzTvpA
In Summary
We walked though the three layouts, but here are a few things to consider as you start your own planner journey.
Just because we buy a planner does not mean that it changes our life. Our intention to be more organized or to work on time management does not arrive in a beautiful box with 2-day shipping just because we bought a new planner. Your success in the planner depends on consistency. Make planning a part of your routine, whether it’s at the beginning or end of the day, make a conscious effort to pick up and open your planner every day. Keep your planner in a place that is highly trafficked–next to your bed, or on your counter next to the coffee maker.
Every single day, week, and month you get to flip the page to a new day, week, or month. And in that radical act of flipping the page, you open your world to new possibilities and plans.
And my biggest piece of advice? Personalize your planner. Have fun with it! Fill your planner with things that make you happy. Old postcards, or notes from a loved one. Stamps, stickers, and magnets. Buy yourself a pack of those nice pens you love. There is a whole world of putting stickers and washi tape in your planner. I am so far down that rabbit hole that I have videos upon videos about that rabbit hole. I love it. But y’all, the planner that I use every day does not have a single sticker in it. It’s 100% paper and pen. You can make planning as simple or as complicated as you want.
If you’re lucky–no, if you’re determined–you will find in your planner a tool to help you stay organized and productive. I hope, too, you’ll find a tool to help you achieve your hopes and your dreams and your goals.
PLANNER PRODUCTS I LOVE:
Erin Condren: https://shrsl.com/2l02v
Bloom Planners: http://bloomplanners.refr.cc/planwithlaur
Makse Life: https: https://makselife.com?ref:lauren
Simplified Planners: https://shrsl.com/2f4zq
My Planning Essentials: https://www.amazon.com/shop/influencer-753af794
Krissyanne Designs Stickers: https://www.krissyanne.com/?Click=31930
$10 off your first Erin Condren Purchase: https://www.erincondren.com/referral/invite/laurenladouceur0602/1
Join Wild University: https://www.wildforplanners.com/a/30959/bWbXceG4


")